

Friday, November 25, 2011
Poseable snowman svg freebie
Thursday, November 17, 2011
Jolly Holidays House shaped card

 |
| Add caption |
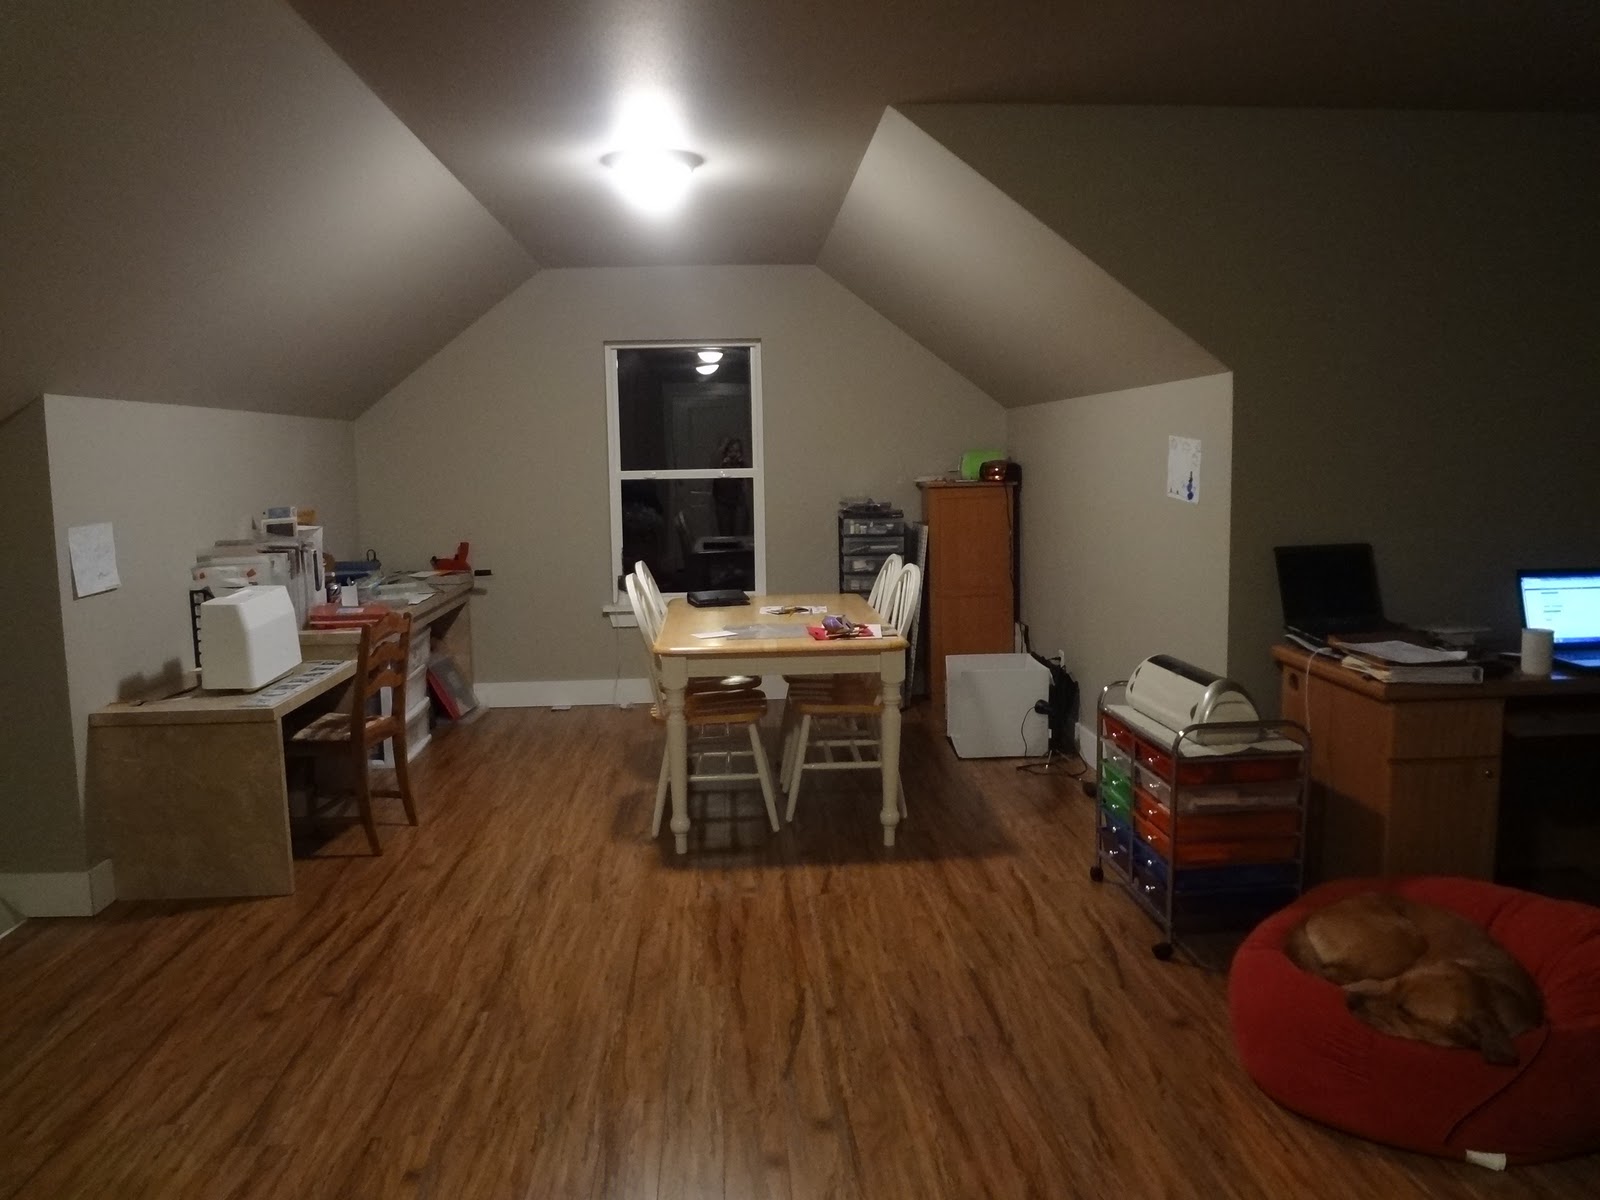
The craft room is starting to get organized. I've realized I just plain have too much stuff. I need to quit collecting so many "alterables" I think I will use a lot of them for Christmas wrapping this year (I have tons of tins,buckets,bags,frames,etc).
Here's the craft room so far:

Wednesday, November 16, 2011
Thanksgiving Turkey paper piecing svg freebie

I've pretty much been skipping Thanksgiving this year. We have been so busy with the move that by the time I get organized and unpacked it will be time to think Christmas projects. That said, this week's freebie is a paper piecing svg/png for the turkey on my header. I have it laid out on the mat for different colors (see sample Lo below). If you cut it smaller than import size on scal2, you may have to draw on the boot buckles or leave them off, since they are so small. Happy Cutting!PSI_ThanksgivingTurkey
 |
| Sample turkey LO for mat |
Sunday, November 13, 2011
First winter and Christmas cards of the year


The second was done with Give a hoot. My friend just got it and brought it over to "test". I have to say I have never given that cart a second look, but now that I've looked through it, I think I have to add it to my collection.
Thanks for looking!
Tuesday, November 8, 2011
SVG tester needed for a Gerbera Daisy file
 I had a request earlier for my old gerbera daisy, however, that file has long expired (twice). I have since switched computers (also twice and couldn't find it. I made a new one, but I'm in the middle of moving and don't have my craft area set up yet - only a small fraction of it has made it to the new house yet since I have way, way, way too much stuff and it is going to take several trips back to the old house. SOOO, I'm wondering if someone would like to download it and test it, come back and post how it works?
 You can download HERE and check the link above for directions.
UPDATE: Thank you for testing out the new file Myrna, glad it works!
 |
| My future crafting space (thats my 10 ft craft counter unassembled on the floor) |
Monday, October 31, 2011
A couple last minute Halloween Cards with Paper Dolls and Pumpkin Carvings


I was in serious need of some card therapy this morning so I thought I'd make a couple kid cards for todays lunch boxes. The first one is done using paper dolls with the ghost at 5 inch real dial size. I bought the cutest little stamp this summer that says "May Halloween find you in good spirits" (hahaha) and I was determined to get it inked before the holiday was over. The second one was done with pumpkin carvings. So here's a little trick I learned this year (maybe everyone else already figured this out and I'm slow, it took me a year). Last year I cut the pumpkins on the cart, then cut the faces which are in squares and just glued on the eyes/mouth cutouts. This year I found that the square cuts last, so I could cut my pumpkin then move the blade to the center, use center cut and then hit the face key I wanted. It cuts the eyes and mouth, and then I hit cancel before it cuts the square. You can then just cut a second of the pumpkin in yellow to layer under for light. I like that method better than putting the eyes/mouth on top because its more "carved out" looking. It does require you to stand there and watch.
 Last I made a quick stack of thinking of you note cards, no cricut, just wanted to use a piece of pretty designer paper I really liked. The leaf is colors with glitter paint, so its sparkly in real life :)
Thanks for looking and I hope you all have a SPOOKTACULAR Halloween!
Wednesday, October 26, 2011
Football candy wrappers


Subscribe to:
Posts (Atom)