Showing posts with label Crafting With Kids. Show all posts

Wednesday, March 7, 2012

Paper 3D Birdhouse

If I move my sons army men he will be very unhappy with me, so they had to stay for the photo

I am so ready for Spring!  We had a light snow again this week and its about 35 degrees out right now.  I'm ready to do planting and finish up my chicken coop but its too cold to go out ,  so I'm bringing the outside in with some fun little birdhouses.  The birdhouse svg is this weeks freebie.  If you make it at imported size you can get it all on one 12x12, but I made mine a bit bigger so that the house alone was as big as I could get on the 12 x 12 mat (don't forget to check the keep proportions box if you enlarge). 

There are already score lines on the house, so to make one, just fold on the score lines and attach the two "wall" pieces together. 

Attach bottom tabs to base (I used liquid glue and then used and stick to hold it down for a second until it dried).   If  you want to add grass or a fake bird, do it now, before the roof goes on.

 Fold roof in half (that is the one score line not there) then fold sides of roof down on score lines and adhere roof to upper tabs.  Decorate as desired.  I ran this roof through a wood grain embossing folder and then did some inking.  I used some fake flowers around the base and ribbon on the front of the roof.  You can look on the last post at the sneak peak cute version that my friend did, she added a flourish, some flowers and some scallops to the roof to make it look like shingles.   Have fun!


PSI_Birdhouse svg


Total side note,   Here is a photo of our new kitty, Annie, basking in a sunny spot on the carpet.  She is only 8 lbs and her who body is about the size of Dasiy's head.  They are getting along quite well so far.  To date : 5 people, one cat, one dog, 2 fish....coming soon...chicks!

Sunday, January 22, 2012

Scraplift Sunday : Snow Day 2012

There is just something about Sundays that makes me want to scrap.  This week I went to look at the latest sketch on one of my favorite scraplift sites and sadly learned that they will no longer be posting :( 

Bummer.

Sounds like a good reason to get into my immense stash of scrapbook magazine clippings and start using them.  So, here is one that has been floating around my desk for over a year (that it never got tossed with the scraps is a miracle), it is from a Stampin Up magazine from a couple years ago.  My take on it is above.  The Brrr and hat are from Winter woodland, the mittens and background paper are Echo Park, the felt snowflake border is I think Queen and Co -I also used it on my new blog header :)

If you would like to scraplift this page along with me, please link up below so everyone can see you version! Thanks for looking!


Friday, December 2, 2011

Let the December projects begin....

HAPPY DECEMBER!  I have several things to share with you this week.  Today I want to show you a quick countdown, a card, and a fun little project for kids.

First, a countdown for hubby's desk...I used two chipboard coasters covered with modge podge and echo park paper.  I cut some holes with a crop-a-dile and added snap rings.  I printed out the xx days til Christmas (cut to 2 by 3.5 inches) and used my silhouette to cut the word Christmas out of cardstock.  The holly is from Joys of the season and the bingo card was from the echo park kit (seasons greetings).  I loved making this and will definitely make more to give away next year.

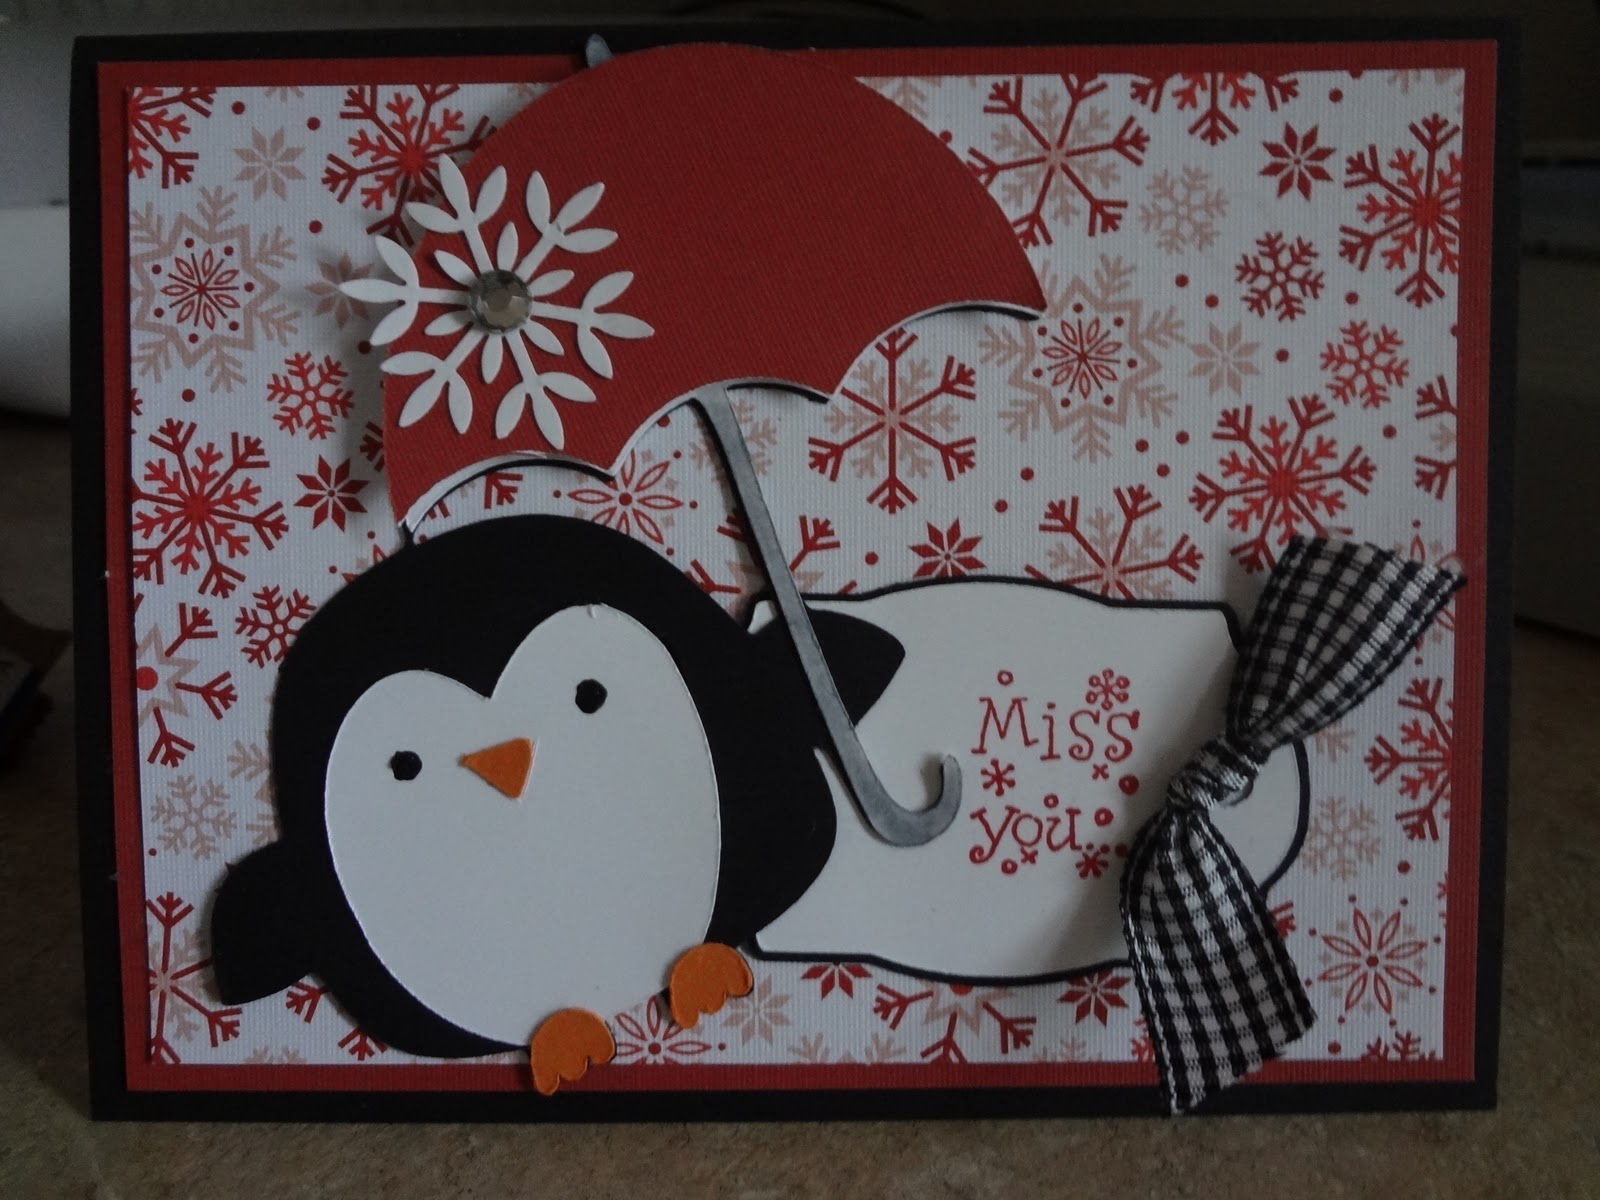
Second is a little card for a friend, the penguin is from Jolly Holidays and the label is from lacy labels


Third is a quick project for kids.  I saw this last year on the Internet and stashed away the idea for this year.  Its just two candy canes wrapped with a piece of brown paper, add eyes and a punched circle nose.  Very simple, but my boys love it and they will look cute hanging on the tree.    Up tomorrow, some holiday decorating, and my first Christmas gift done.  Thanks for looking!

Wednesday, September 22, 2010

Pumpkin Carving paper lanterns with DS cut file

You can't help but look at the images from pumpkin carvings and see paper lantern possibilities.  The square images are perfect for simply welding together.  But of course, I wanted to make some out of the circle images which is a bit more work- but not much.  Here's the step by step: 

Download and cut the lantern base with DS and Plantain Schoolbook (see link below), I cut mine out of a Debbie Mumm 12x12 patterned paper
Score at 5 and 10 inches
Attach squares of vellum (about 4.25 by 4.25) to back side
Attach tabs of piece one to opposite side of piece two.

Cut your choice of circle images from Pumpkin carvings at 4 inches and glue over vellum.
Insert FAKE candle

Now what if you don't want to weld the square images together?  Well, your in luck, I've included a square lantern base on the same file (page 2).  Follow the exact same instructions but use square images from the pumpkin carving cartridge (still cutting at 4 inch).

FYI: Costco now has the pack of fake candles, 30 candles plus 30 extra batteries for $20, great buy!
With all these, I'm sure my kids will want to make lots.  And whats great is that I can make the bases for them to finish and they can choose 4 different images for each one (there so many cute ones, who could pick just one?).  Of course if you don't have pumpkin carvings, any shape welded into a 4 inch circle or square frame will do!  Thanks for looking and for taking the time to comment!

Saturday, August 21, 2010

Altered notebooks


I picked up a bunch of those composition notebooks a couple weeks ago at Target and started altering them for the neighbor kids for back to school.  I was down to my last two and decided I better make one for myself, so I made one for my house ideas (my hubby and I are thinking of building).  For mine I used Lacy Lables (Home, cut at 4 inch) and I just wrote in OUR in pen for a personal touch.   The key is just an uncut I bought from the hardware store, hopefully by next year it will have a door.   My other one I made for my niece.  I'm going to save it to go with her birthday gift for next month and I used Cindy Loo cut at 3.5 inch.  There are lots of great frames on that one, you could do one with each subject.  I love these because you can really make them for under $1, and make them in under 10 minutes.  You don't even need a cricut for these, leftovers from those part used scrap kits (you know you them) will work great!  Thanks for looking!
The step by step: 
 Pick two pieces of pattern paper, cut front piece to 9 3/4 by 7 in, and andhear to front (I use an atg gun right at the edge, but modgepodge or SU glue stick also work well).
Cut back paper to 9 3/4 by 10.  Use paper edge punch now if desired., adhear back piece (start at the back edge and wrap around the front since the back edges are hardest to line up).
Tie ribbon around book cover and add embellishments.
Use a file or sanding block to round corners and distress/smooth edges.

Tuesday, October 20, 2009

Kids Craft Thanksgiving Turkey SVG for SCAL


I know its early but..how about a start on a Thanksgiving craft project? I made this for the kids to do with their friends. I'm sizing it so that it goes 6 x 12 on the mat, doing one 6x6 square in tan (for the turkey body) and one 6x6 square in white for all the other pieces. The kids can color the feathers any way they like then assemble the project. It comes with the slits, just put the two body parts together, add some googly eyes and you have a turkey to sit on your table...gobble gobble!

Thursday, June 11, 2009

Cricut Dino Cake


My boys just turned 6! We were going to make a dinosaur shapped cake, but the neighbor borrowed the dino cake pan (4 months ago) and just couldn't seem to get it back to me. I offered to make dinos to put on top and they LOVED the idea. They helped me cut them (they are from paper dolls), color them and then they glued them to sticks. I did mirror images of them, so they could be glued back to back to hide the stick. Then the only decorating I had to do was add some "grass". The boys got to put in the dinosaurs in their cake and poof - quickest cake I've ever made! OK, maybe not the best looking, but they are 6 - they said it was "awsome" and thats all that really matters :) Thanks for looking!

Wednesday, October 1, 2008

Messy Morning in the stamp room


I think moms who love to craft tend to have kids that love to craft. I took this photo of my boys this morning. Today they are making cards for me, daddy and grandma - with their favorite stamp set: Ahoy Mate (Stampin' Up!). I keep a separate set of supplies in my room just for them- sort of "decoy" supplies so I don't have to worry they will break anything of TOO great a value (some of those supplies are expensive!) Then we can all relax and have fun together. Aren't they the cutest little stampers?

Wednesday, September 24, 2008

Remember Colorforms? How about vinyl on pumkins!


When I was little I had a Holly Hobby colorforms set that I LOVED to play with. I can still remember the smell of the vinyl when I would open the box (probably not good for you, but back then we didn't think about such things). For those of you who are too young to remember such things, colorforms were boxes of vinyl cutouts and the inside of the box would be a scene that you could arrange them in, kinda like modern (at the time) paper dolls. I don't think they still make them. I spent hours with mine. SOOOO...my boys are still sleeping, but when they wake up I have a surprise for them - my own version of colorforms! Last weekend we bought some of the fake pumpkins on sale at Micheals and I have cut a wall pop to make faces and Halloween shapes. I used one 12 x 12 black wall pop and the cut file includes 2 kinds of eyes, 2 noses, cat, fence, spider, web, eyebrows and 8 teeth. I did cut the tips of the moon mouth by hand to make it more rounded and I think I will cut the ball off the top of the question mark. I hope they like it! I am including the file for download.
Pumpkin vinyl .cut
I have the other pumpkin 2 posts down, on that one I used the cricut vinyl and storybook. I don't think the cricut vinyl works as well for pumpkins or for kids because it is stickier - not so good for sticking and pealing over and over or repositioning -great for walls though!

Friday, August 15, 2008

ARGGGG! Cricut Pirate Party Hats

ARGGGG, WALK THE PLANK!


Everything in my house is Pirate - my boys are obsessed. Earlier this summer they had a birthday party and I made a stack of these pirate hats with Paper Dolls, they are still playing with them....and having me make more. It was a cute moment because he asked for a feather and I didn't have one, a little while later he showed up with a blue pipe cleaner tied to it (its tilted back behind his head so you can't really see it but its there). He had gone into his craft supplies and fashioned his own out of a pipe cleaner because.....


(Carsten in his exasperated "why don't grownups understand?" voice)


"Monny, every pirate HAS to have a blue PEATHER!!!!"


If you have a little pirate, set you Paperdolls on 4 inch (Real size dial on), cut out the crossbones at 1.5, and staple on some 1/4 elastic (I did corded too, but flat worked better) - they will be thrilled. To make his patch I used the blackout of D in George, slightly skewed (Design Software) - but it could be made by hand easy enough, for that I put in a couple quick eyelets (LOVE my crop-a-dile) and ran some corded elastic. Don't forget to buy some feathers :0)


As long as I'm posting, here are the other photos from the party. I make a pirate ship cake for the family party - I used craft sticks and paper for the sails, which quickly set on fire - looked like we had our own pirate battle. For the kiddie party I made cupcakes, each with a pirate flag from paper dolls cart, I attached them to sucker sticks (available in the Wilton Cake section). They were cute, but I can't find a picture. The invitations and thank you cards were make with Stampin' Up! Ahoy Mate! stamp set, thanks to CJ for helping me get them done in time.


Before the Fire
ABANDON SHIP! Look at those sad little faces :(

Thursday, April 24, 2008

Cricut Paper Dolls Pirate Name Frames


My boys love all the pirate stuff on Cricut paper dolls cart so I decided to use it to make name frames for their room. Frames were from Micheals, they came already matted for the great price of $3 each. I used regular scrapbook paper for the backgrounds, Carsten is "parchment" and Andys is a map (CTMH). Most items were cut at 3 inches. The fonts were not done with the cricut, I used SCAL for Carstens and for Andys I just used PE6. I used sandpaper on the edges and small rope on Andys, no I wish I would have done that with Carstens, but oh well.....They were fairly quick to make and the boys love them, I let them pick out colors and what kind of things from the cartridge would go on each frame - getting a decisions out of two 4 year olds does take some work, but it was a team effort that all and all went pretty good. Thanks for looking.
The font on Andy's is Pieces of Eight, it is free on dafont.com

Sunday, December 9, 2007

Is it the 9th ALREADY?????

Goodness, where have the days gone. Each year I think I will be more organized then the last, but instead I get further and further behind. This year I put up the tree on Nov 30, here it is Dec 9th and I'm still not done decorating it. This week both boys took turns being sick, that put a hold on things of course. We still managed to get a few ornaments made, and they were good ones to do with the kids. SO...if you have kids and your looking to make some ornaments for your tree, here are a few that they can help with. The first one was done with Carsten, it is a ribbon ornament. Simply cut 1-2 yards (depending on how big your ribbon and ornaments are), remove the cap from a plain glass ornament, and let him stuff it in, easy peasy and it looks quite nice when its done. Save a little piece of the ribbon to tie on the cap when you replace it. The second ornament was done by Andy, it is a glass ornament filled with paper. Cut paper into strips about 1/4 inch by 4 inches and let the kids roll them up tight. Then remove the cap and let them stuff the papers in, they will unroll a bit -so be sure you are using double sided designer paper. Add coordinating ribbon to the cap and your done! The third ornament I did because I recently noticed that the kids hand print is just the size of a CD. I know this because EVERY cd/dvd I could find in my house, has at least part of a hand print on it. To make this one, trace two circles with the cd, for ours I picked white and I let the kids pick out a print for the back. Let the kids put their hand print on the solid color. We just used paint, but ink would work too. Cut out your circles and secure them to the cd. Use a sanding block to smooth the circle. To insure that they stay stuck to the cd, use double sided sticky tape along the edge so that it overlaps onto the front and back. Then let the kids roll the edges in glitter or microbeads. Next I used my NEW crop-a-dile (thanks Mom!) to set my first ever perfect eyelet and ran some ribbon through to hang it. The kids get to decorate the back and you are left with a wonderful ornament to cherish for years to come. Even with all these, my tree still looks bare. I'll have to think of a few more...who's idea was it to have such a big tree!!!!