Oh my goodness, tomorrow is December! I need to make some cards and quick, here is todays card along with an svg file. There are a few extra holly leaves on the file, just in case you need some on the inside, or for accents, etc. I cut the card base from craft and then lined the inside (verse side) with white so that the holly would pop on the bottom. The labels on the card are from spellbinders (labels and tags collection) and the stamp is from Stampin Up (Greetings of the Season set). Thanks for looking!
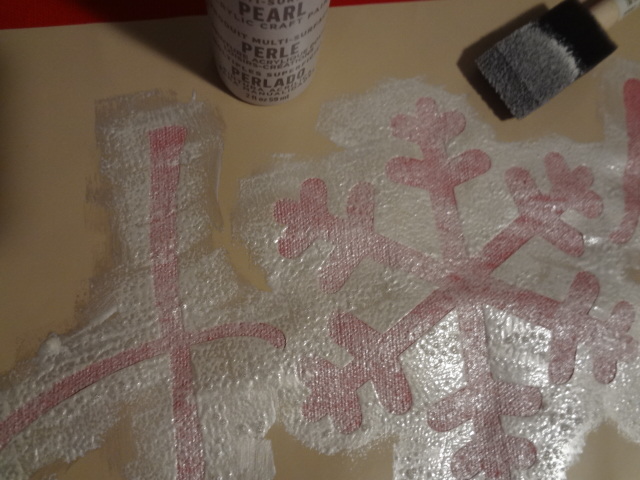
I really want some fun holiday pillows for my couch/chair but all the ones I can find in the stores are tan. My couch is a gray-ish tan, so tan pillows would love awful. I have no choice but to make them. For the first one, I wanted red so I picked up this $3 place mat at Target yesterday. It has really fun sequins lining the top and bottom- perfect for a word pillow. I used some scrap contact paper to make a stencil and then painted the fabric with Martha Stuart Multi-Surface acrylic in PEARL. After using this stuff, I want to go buy all the colors! If you are trying this, I suggest you use something with stick, rather than just paper for your stencil - either scraps of vinyl, or contact paper, or even freezer paper. Then use a foam brush with a pouncing motion rather that brushing it. This will keep you lines crisp. One more tip: I know its hard to be patient while the paint is drying, you will want to strip off your stencil because you can't wait to see the results - don't do it! If the paint on the stencil is wet it can (and will) get on your project where you don't want it to, ALSO, if you are doing a light color on dark, you may want a second coat of paint, and I can tell you now, you are not getting that stencil back on right. I was too eager and took it off, then had to add paint with a paintbrush. Next time I will try to be more patient (ha). So once my paint was dry, I ripped open about 4 inches of the side seam, stitched a button on the snowflake to tie in with the sequins, stuffed it with filling from an older pillow, then hand stitched the opening closed. I just love it! I need 2 more for the couch, but I want them all to be different. Next I'm trying a PB knock-off, I'll let you know how it goes.
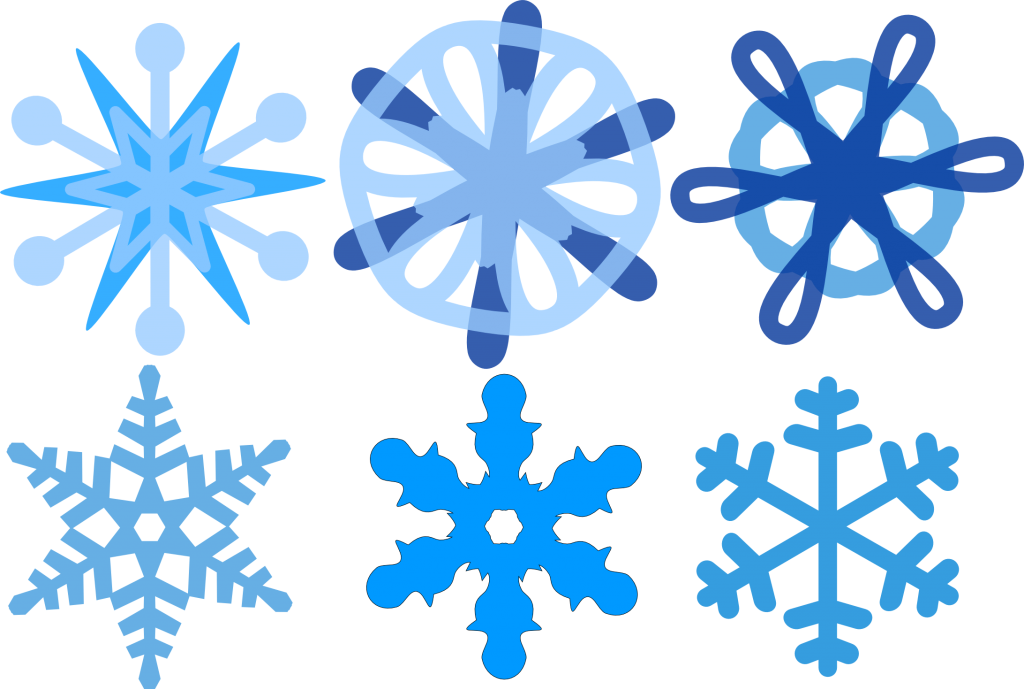
Today I tried making snowflakes in inkscape - it surprisingly fun-give it a try to make your very own! I ended up with 6 done before kids got up. Three of them have layers, but you could easily skip the layer if you like only pointy snowflakes, or mix and match to make other layered snowflakes! File is below, happy cutting!
Its almost time to shop those Black Friday deals. I whipped up a quick keeper to help me organize.
To make one, start with a piece of cardstock 6 x 12
Score at 3.5, 4, 4.5, 8. and 8.5 inches
Fold the first 3 score lines so that the form a peak.
Make a snip mark through the peak to the score lines, approx one inch from the end
Repeat approx. one inch from the other end
Push out the paper connecting the snips, this will be for holding the pen
Fold your cardstock into a book and your ready to work on the inside
For an inside pad, cut 3-4 sheets of standard thin white paper (like for your printer), into strips that are 2.25 by 4.24 inches. 3 sheets will make a pad of 24 sheets- probably plenty since this is only for the holidays. Cut a small strip of an accent paper and fold over the edge of the paper pad, staple to the right flap.
Next, take 2-4 envelopes, seal them, then cut off the tops so that they are 3 1/4 inches wide. Use adhesive to connect your envelopes to each other as well as the 2nd and 3rd flaps of your organizer, this will create pockets for keeping lists/receipts/coupons.
Embellish your folder as desired, add a fat-ish pen, there is room on the inside for a few post-it- notes (I only had blue, which doesn't match, but oh well!). If your using some leftover scrap embellishments, you can really get this done in about 5 minutes, so make enough to hand out at dinner tomorrow!
NOW....GO SHOPPING!
For those who prefer a video (yup, still in my pj's and poor lighting - its was early) :
Wednesday, November 14, 2012
Here is my last round of Thanksgiving/Fall cards...tomorrow I switch to Christmas! Inside each one I have printed Wishing you and your family a Thanksgiving filled with bountiful blessings and countless happy memories. Now, off to those new Christmas stamps!